
If you are considering changing your flooring that doesn’t cost an arm and a leg, here’s a cheaper flooring option for you. Vinyl floor covering installation is easy and quick and we made this content DIY-friendly for those who are thinking of doing it on their own.
Prepare Your Subfloor
To guarantee a smooth installation; it is critical to prepare the surface on which the floor is to be laid. Vinyl can be laid onto current floors like Parquet, Vinyl or Linoleum, Tiles, and Laminate. Most importantly, you need to have a clean, dry, and even subfloor. In case the floor is not even, consider using a leveling compound.
Tip: you can utilize vinyl with textile backings to level small irregularities on the given subfloor.
Thoroughly clean the subfloor using a neutral cleaning agent to clear away dust or dirt, making sure it is dry fully before you begin. If the surface is smooth, a primer may be necessary to assist the flooring to adhere well to the subfloor.
Prepare Your Flooring
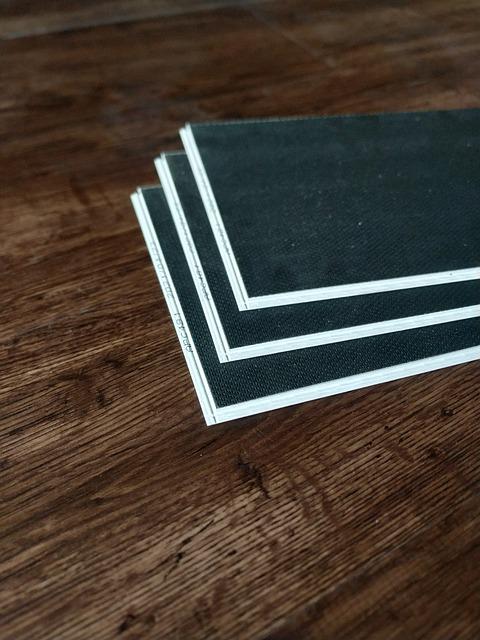
It is critical for the flooring to acclimatize for a minimum of 24 hours before installation at minimum room temperature of 15°C. Unroll the floor covering and cut it to sizes that would allow an extra 15-20cm to prevent a shortage of material after the installation.
Install Your Flooring
Every flooring is installed facing the main direction of the light source. Nonetheless, if the room is narrow, the sheets should move along the length of the surface, despite the light direction. Other than wood designs, every consecutive sheet has to be installed in opposite directions for homogeneous.
Tip: For a durable installation, joints need not coincide with areas where there is most traffic such as doorways.
Installation Methods
There are three techniques of installing your flooring, based on the size and the use of the room. For smaller rooms too much foot traffic, consider it a medium sized surface.
Small room is measuring less than twelve meters squares. Loose-lay installations work great. You can just lay your vinyl flooring over the subfloor. Just unroll and cut the floor!
Medium room measuring less than twenty-five meters square. Semi-loose installation works great. Utilize twin-faced duct tape around the surface to secure the flooring.
Large rooms measuring more than twenty-five meters square. Glued installation works great. There is a straileghtforward and eco-friendly solution, which would be to use a water-based spray adhesive.
Finishing Touches
For a smooth finish, do not forget to add skirting around the surface as it would protect the edges of the vinyl sheet and the base of your wall, making the cleaning process easier. It would also add an elegant touch to your look.
There Are Numerous Kinds of Skirting:
Flexible PVC Skirting that is self-adhesive. They are accessible in many colors and are simple to install; with foam backing, they are adaptable to uneven supports. Therefore, no preparation required. Flexible double-sided self-adhesive PVC is skirting that you insert pieces of the flooring for an ideal match. Classic hard flooring skirting in MDF or wood can be screwed or glued to the walls.
In Conclusion
Overall, installing vinyl is fairly straightforward; here are some basic things you need to remember:
- The subfloor needs are flat, dry and clean.
- Do not rush into it; the flooring must acclimatize for at least 24 hours.
- The installation directions matter, check the source of light and read the description of the product.